Quick tip for Dye effect, here you will learn how can you create a Dye effect in Adobe Photoshop.
How to create a new document?
First, create a new document. To create a document go to the file menu then click on the new option, here width is 1000, and height is 800 pixels, Resolution is 72 pixels, the color mode -is RGB, and the background content will be white then click ok.
How to make a Dye effect?
1. First, select the background and the foreground color, here the background color is white and the foreground color will be black.
Also read: https://texhype.com/how-to-create-colorful-rhombus-pattern-in-adobe-photoshop/
2. After that select the rectangle tool and draw a rectangle on your canvas here rectangle size will be the same as the canvas size.
Then fill the light shade of orange color on the rectangle.

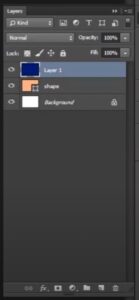
Then create a new layer and fill the navy blue color on it with the paint bucket tool.

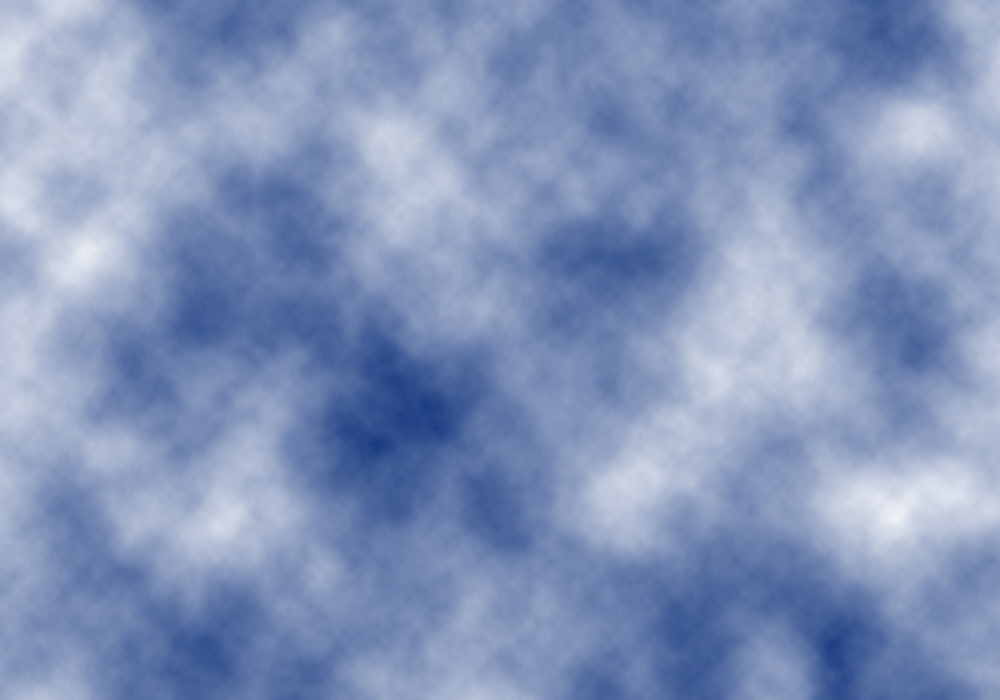
3. Now go to the filter menu select render then here select clouds and now here our DYE EFFECT is ready.