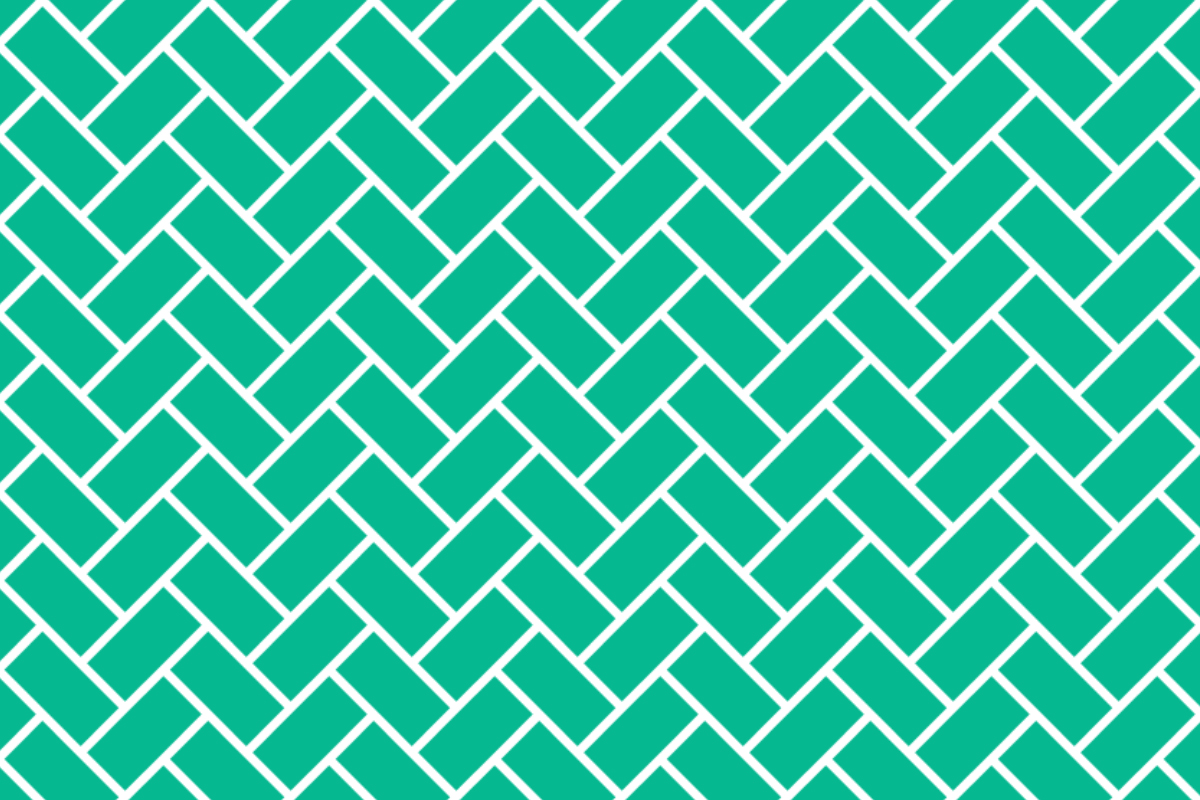
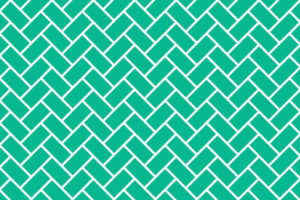
In the following step you will learn how can I create herringbone pattern in Adobe Photoshop.
1.How do you make new document for your pattern?
For creating a document go to file menu then select new, where width 400 and height 400 pixels, Resolution -72 pixels, color mode -RGB, and the background content will be transparent then Press ok>
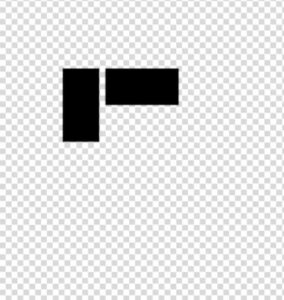
2.How do you create very first herringbone shape ?
STEP-1
Go to rectangle tool and select rectangle, then click on the canvas and set width and height of the rectangle it will be 300/600 pixels. Now set fill and stroke color here fill color will be black and stroke color will be none.
STEP-2
Now go to layer panel then right click on the layer and duplicate it. Select top one layer and press Ctrl+ T then set angle value it will be <90°. Now our shape are rotated in horizontal axis.
Then through the move tool move the shape to the top of the previous shape. After that press Ctrl+ T and set “X” axis value. Add 350 with Value of your “x” axis, here “x” axis value was 1290 and here I was added 350 like 1290+350= 1640, now my “x” axis value is 1640. And set “x” axis value 1640.

STEP-3
Go to layer panel and select very first one layer then right click on the layer and duplicate it. Now select duplicated layer and press Ctrl+ T. Through move tool move the shape on that shape, which is placed horizontally. Now do same thing here add 350 with the “x” axis value. Then press ok.

STEP-4
Go to layer panel and select all layers, now select rectangular marquee tool and select the area where three shape are placed. Now press Ctrl+ T and set angle value it is 45°. And press ok.

STEP-5
Go to layer panel and right click on the selected 3 layer and duplicate it. Placed duplicated layer to the Little Down portion of the other 3 shape. Again duplicate selected 3 layer and place it to the button portion of the other 6 layer.

Now place ruler guide vertically and horizontally to the middle portion of all shape.
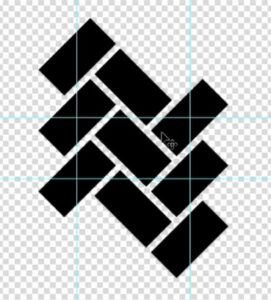
Through the rectangular marquee tool select middle portion of the guided area.
STEP-6
Go to edit menu and now select define pattern and save it>
STEP-7
After that Open a new document, Here width and height -1200/800 pixels, Color mode will be RGB, Background contents will be white>
then press Ok
STEP-8
Go to layer panel then open lock, Then go to new fill and adjustment option> then select pattern >
click drop down menu and select your pattern> set size it’s 18%>
Then press ok>
STEP-9
Go to new fill and adjustment option> then select solid color > and now select a color which you want> then press ok>
Then Right click on the color fill layer >
Then select create clipping mask>
Complete