In the following step, you will learn how to make Camouflage or Military Print in Adobe Photoshop. Here are the steps to make a Camouflage or Military Print in Adobe Photoshop, I will also leave the video below so you can have a better idea and see how I create Camouflage or Military Print.
How do you make new documents for patterns?
For creating a document hit on the File menu then select new, where width is 1000 and height is 800 pixels, Resolution is 72 pixels, the color mode is RGB, and the background content will be white then click ok.
How do you create Camouflage or Military Print step by step?
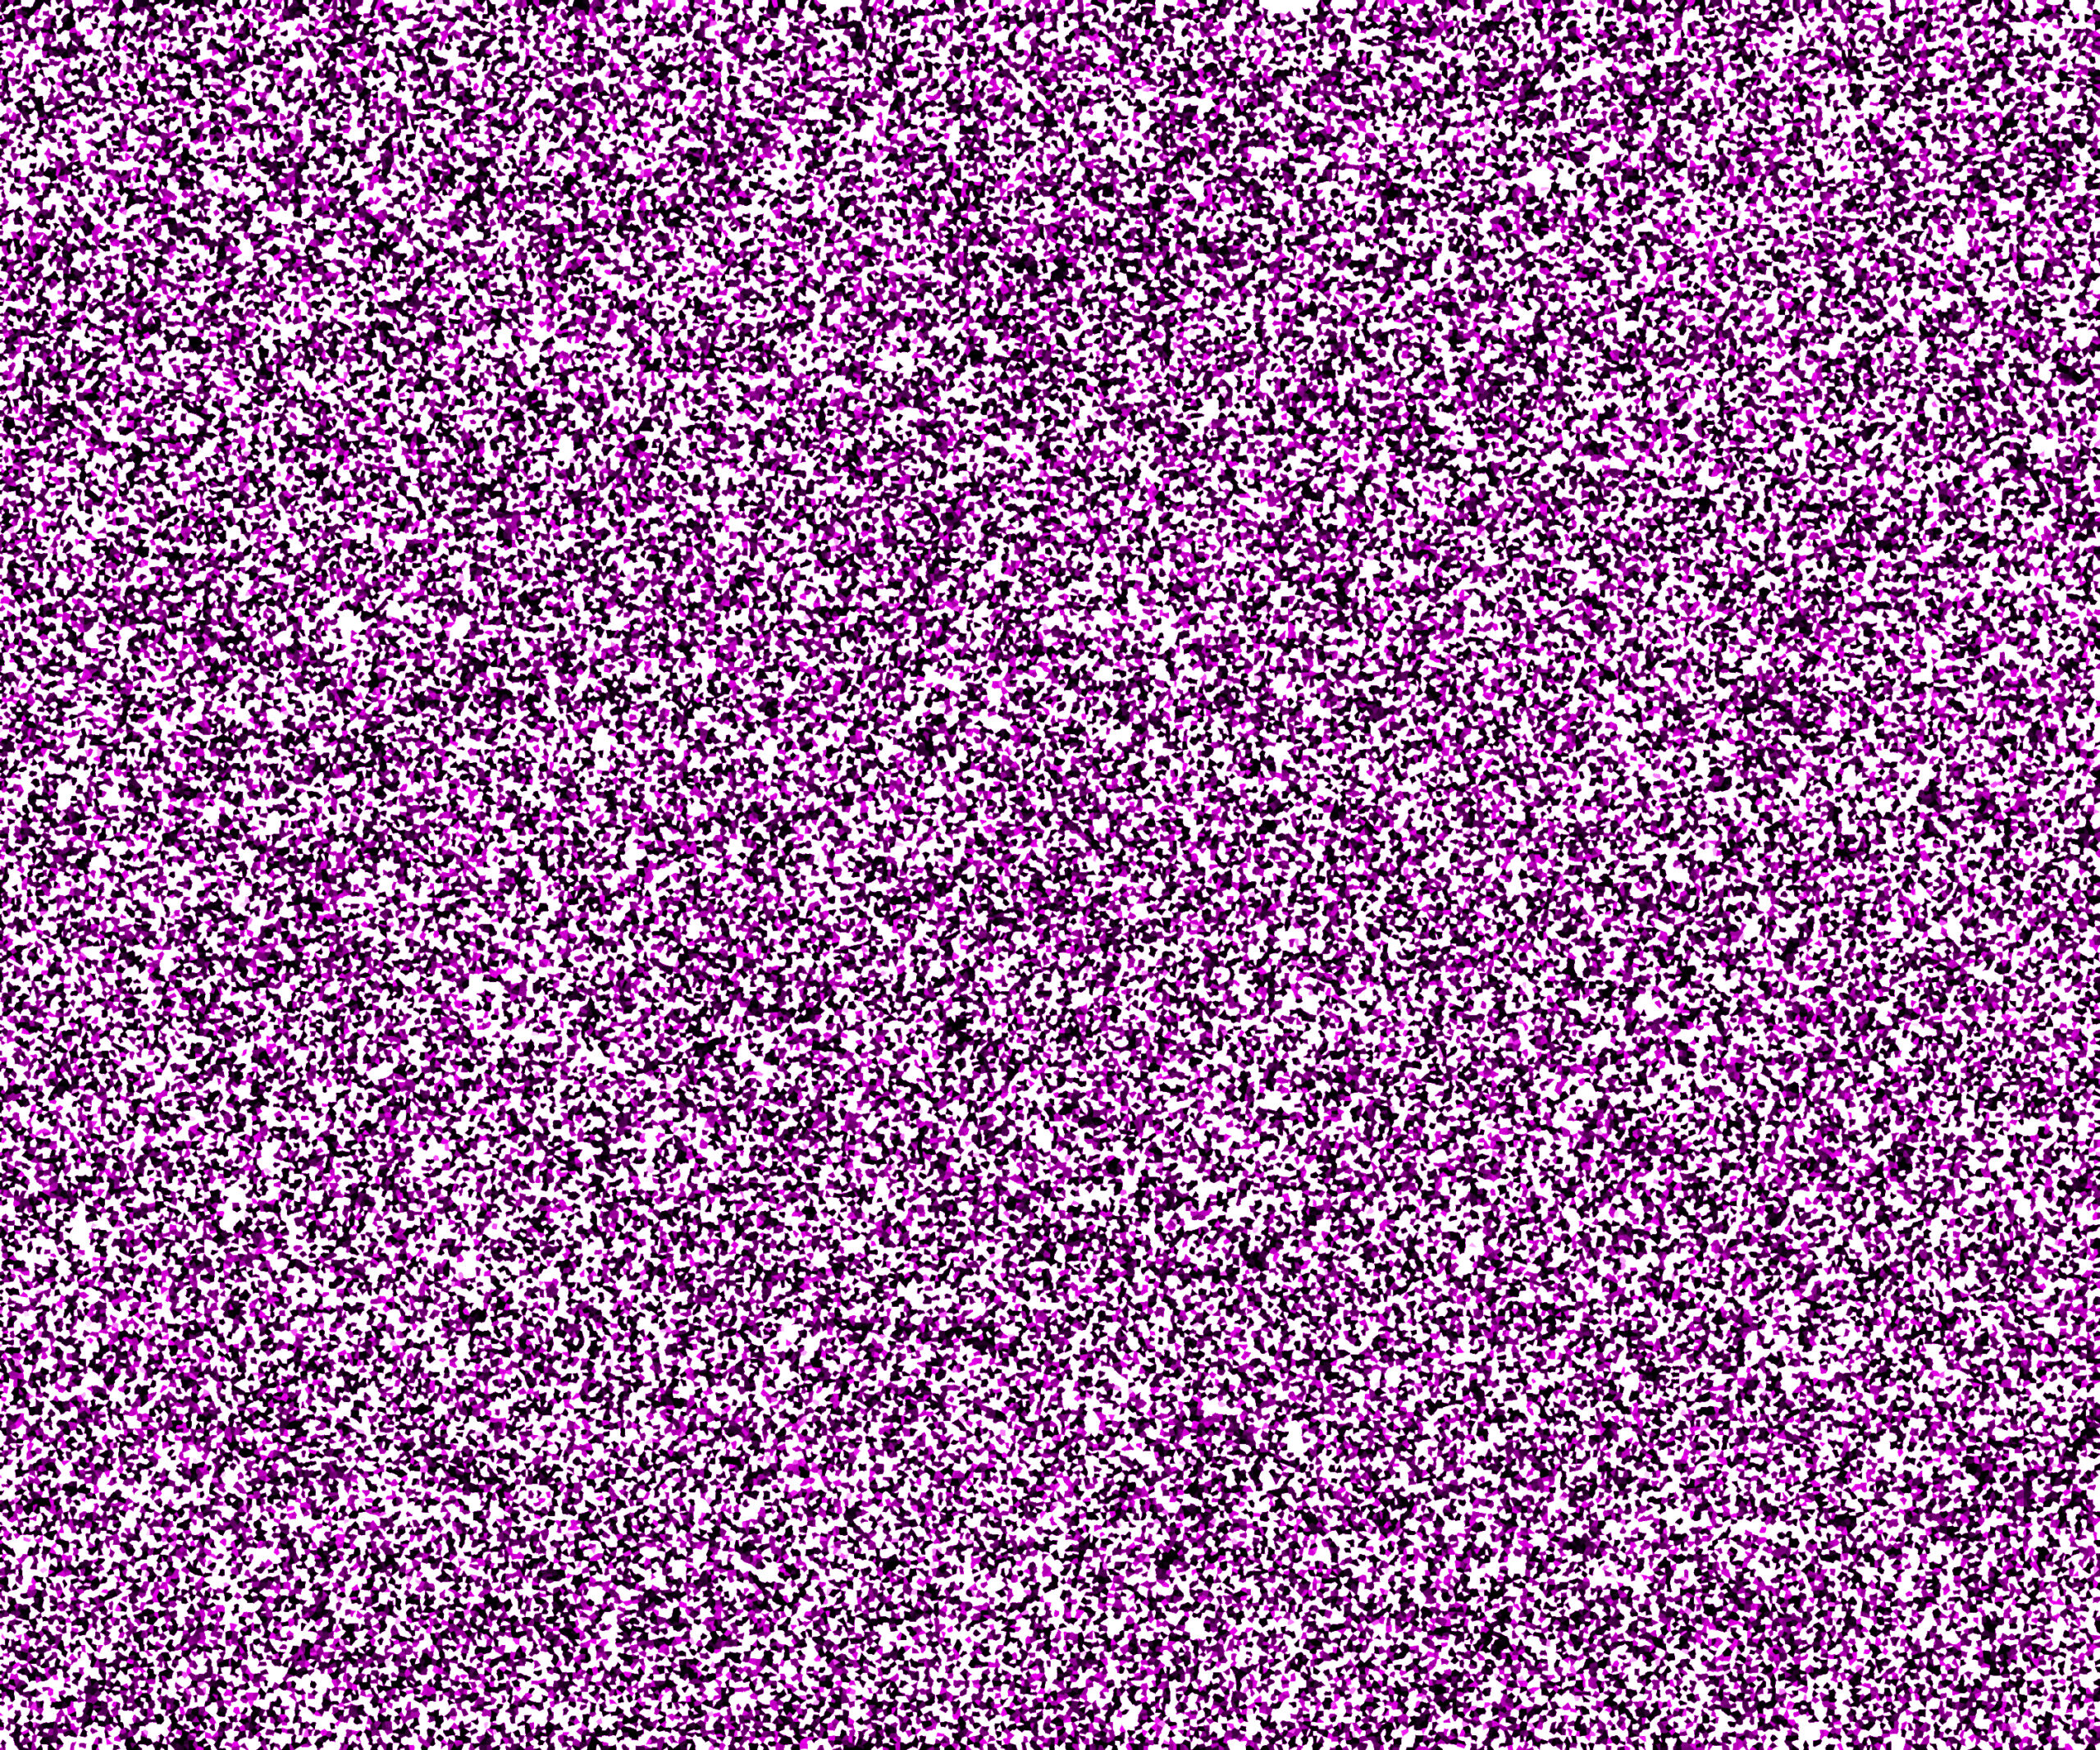
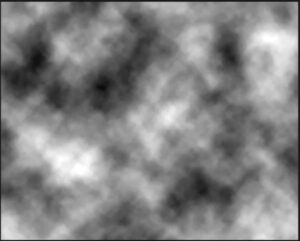
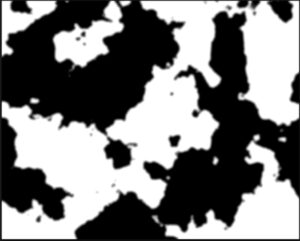
1. At first, set your foreground and the background color, here foreground color will be black and the background color will be white. Now go to the layer panel and unlock the layer, then click on the filter menu, here select render then click on the clouds.
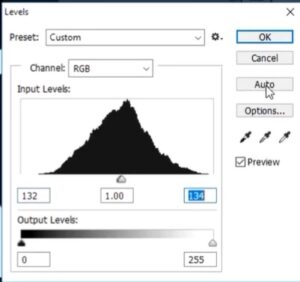
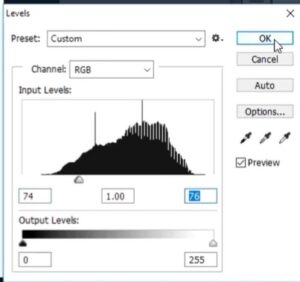
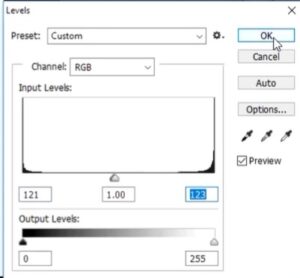
2. Now go to the image menu then here select adjustment and then levels. In the level windows, the input levels hand will be in the middle, and click ok.
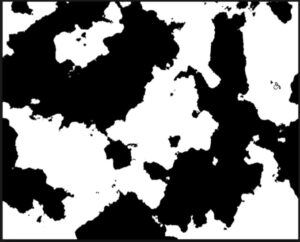
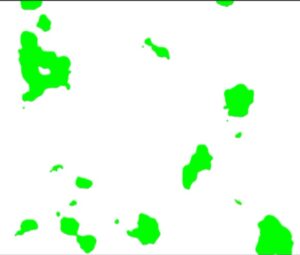
And the canvas will look like this.👇
Also, read: https://texhype.com/how-to-create-polka-dots-patterns-in-adobe-illustrator/
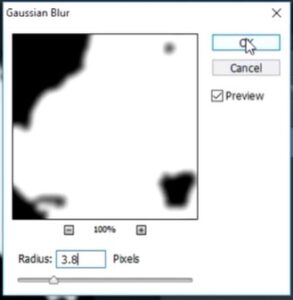
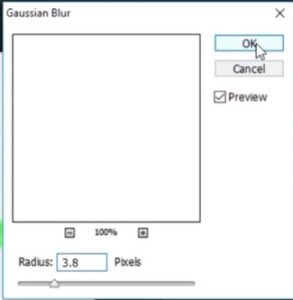
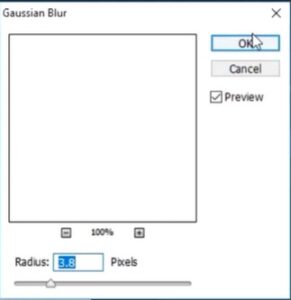
3. In this step go to the filter menu here select blur and then click on the Gaussian blur. Here gaussian blur radius will be 3.8 pixels, then click ok.
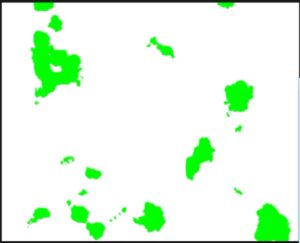
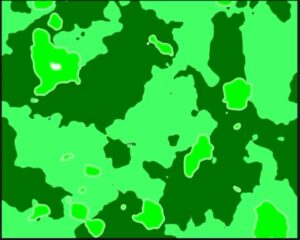
4. Now click on the foreground color and select the foreground color it is light green. And now apply light green color in the white portion of the canvas through the paint bucket tool.
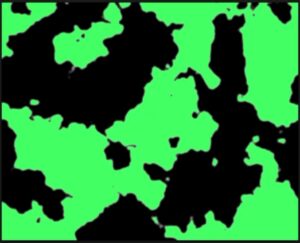
Now set the background color it will be deep green and apply the color in the black portion of the canvas.
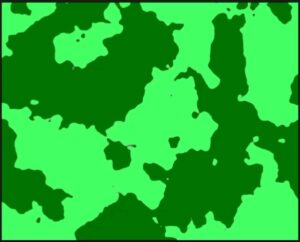
“In the paint bucket toolbar, the mode will be normal, the opacity will be 100%, the tolerance will be 100, Anti-alias will check on, and the contiguous and all layers will check off.“
5. Go to the layer panel and create a new layer. Now again set the background color it’s white, and the foreground color will be *dark green.
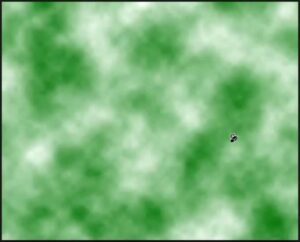
Go to the filter menu select render then select clouds.
Now go to the image menu, then click on the adjustment option then levels. Here input level hand will be on the right side. Then click ok.
6. Again go to the filter menu then select blur and then select Gaussian blur here gaussian blur radius will be 3.8 pixels then click ok.
7. Again select the image menu then adjustment then click on the level here input levels hand will be in the middle, then click ok.
Select again the filter menu then Blur after that select Gaussian blur. Here gaussian blur radius will be 3.8 pixels. Then click ok.
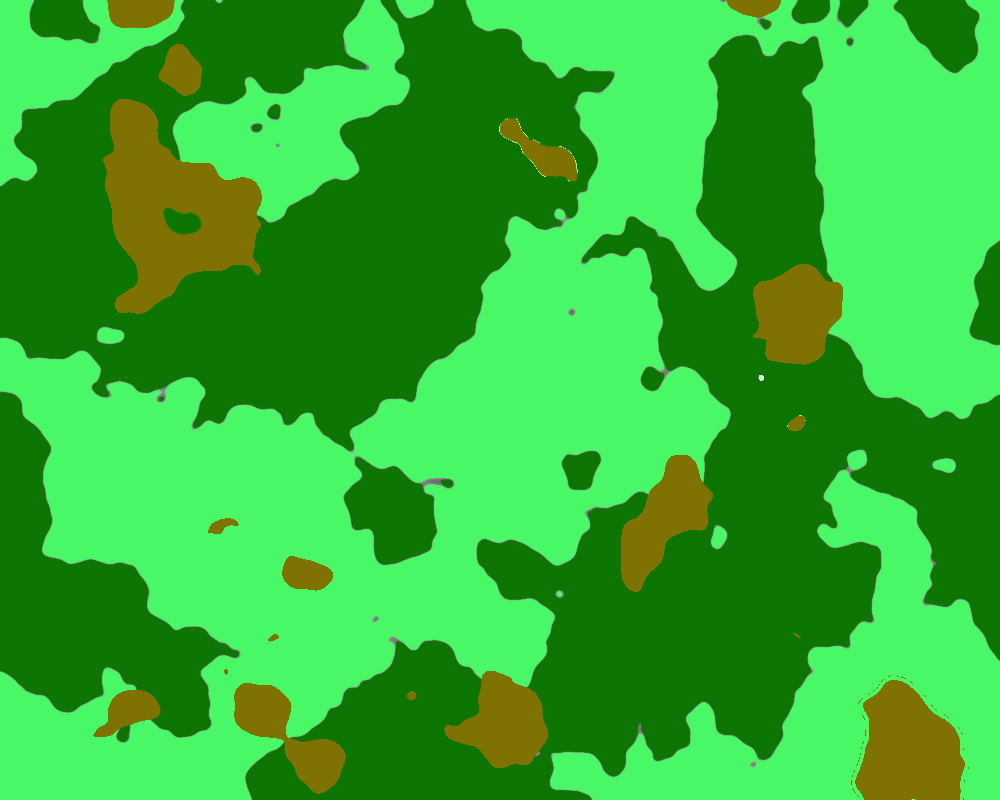
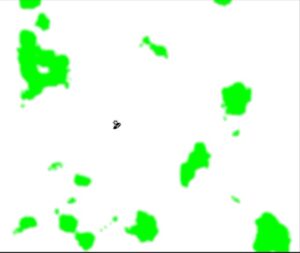
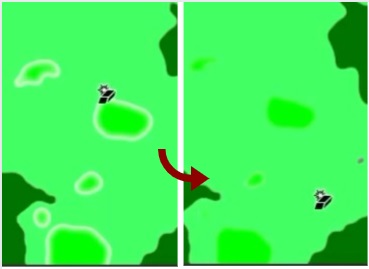
8. Select the eraser tool and click on the white portion of the canvas.
click on the white spot or white outline Through the eraser tool to remove it.
9. Now set the foreground color it will be brown and click on the light green color area by the paint bucket tool.
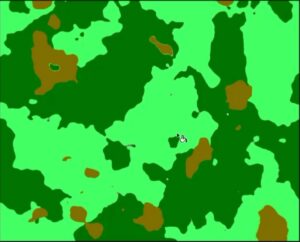
Now here the military print is ready.