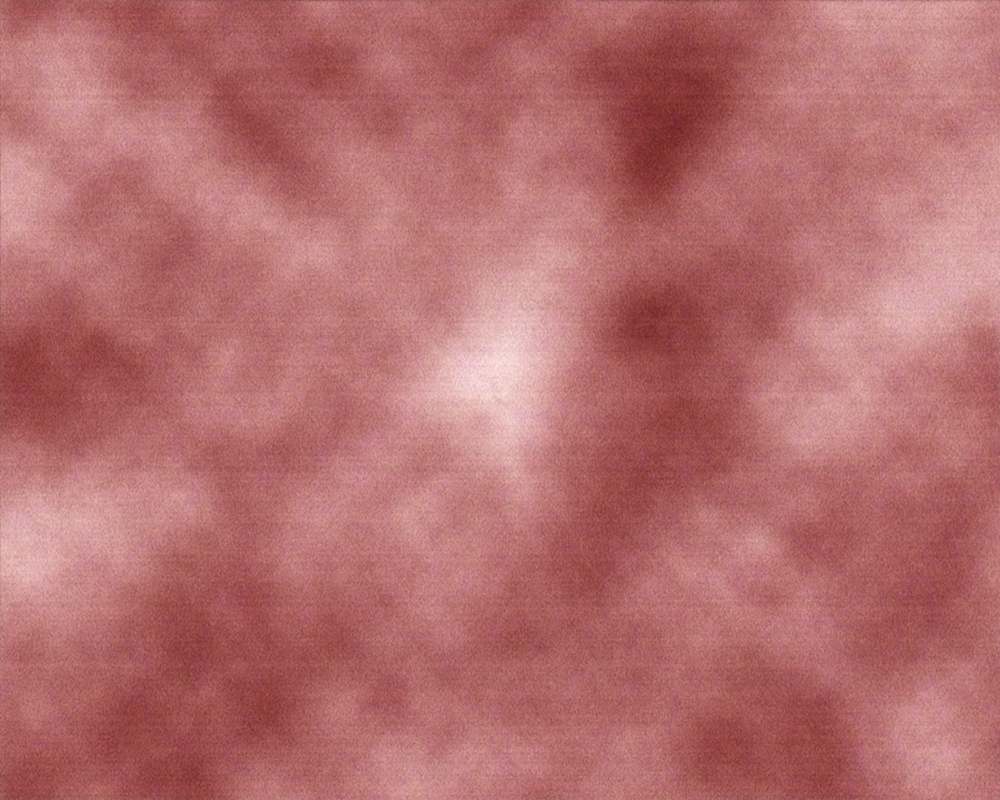
Follow the steps below to make Velvet texture in Photoshop.
STEP-1
Open Photoshop
File
New
Width and height -1000/800 pixels
Resolution -72
Color mode- RGB
Background contents- white
Ok
STEP-2
Select one color where light shade for foreground and dark shade for background
STEP-3
Window-
Layer-
Open the lock-
Filter –
Render –
Clouds –
STEP-4
Filter –
Noise –
Add noise –
Amount -10%
Distribution – uniform
Ok
STEP-5
Filter –
Sharpen –
Sharpen –
STEP-6
Right click on the layer and duplicate it.
Then set blending mode normal to overlay –
STEP -7
Press- Ctrl+T
Set Height and Width -120/120%
Enter
Step-8
Select both layer and merge it-
Press enter twice to crop –
STEP-9
Filter –
Filter gallery –
Texture –
Grain-
Intensity -5
Contrast – 15
Ok


