STEP-1
Open Photoshop
Create a new document go to file>
New>
Width and height -800/900 pixels
Set Resolution -72>
Color mode -RGB >
Background content -white>
Ok>
STEP-2
Open lock of your background layer>
then create a new layer>
Go to tool bar and select foreground color which you want ( I choose blue)
And background color will be white >
STEP-3
Then select custom shape tool from tool bar >
Select Tile 4 from custom shape>
Then Draw shape on your canvas>
Select move tool from tool bar>
And aline it>
STEP-4
After that create a new layer>
Then go to tool bar and switch foreground and background color>
STEP-5
Select polygon tool from tool bar>
Set side>
Ok>
STEP-6
Arrange new white polygon on your new layer>
STEP-7
Create a new layer>
Go to tool bar and set foreground color which is light blue>
STEP-8
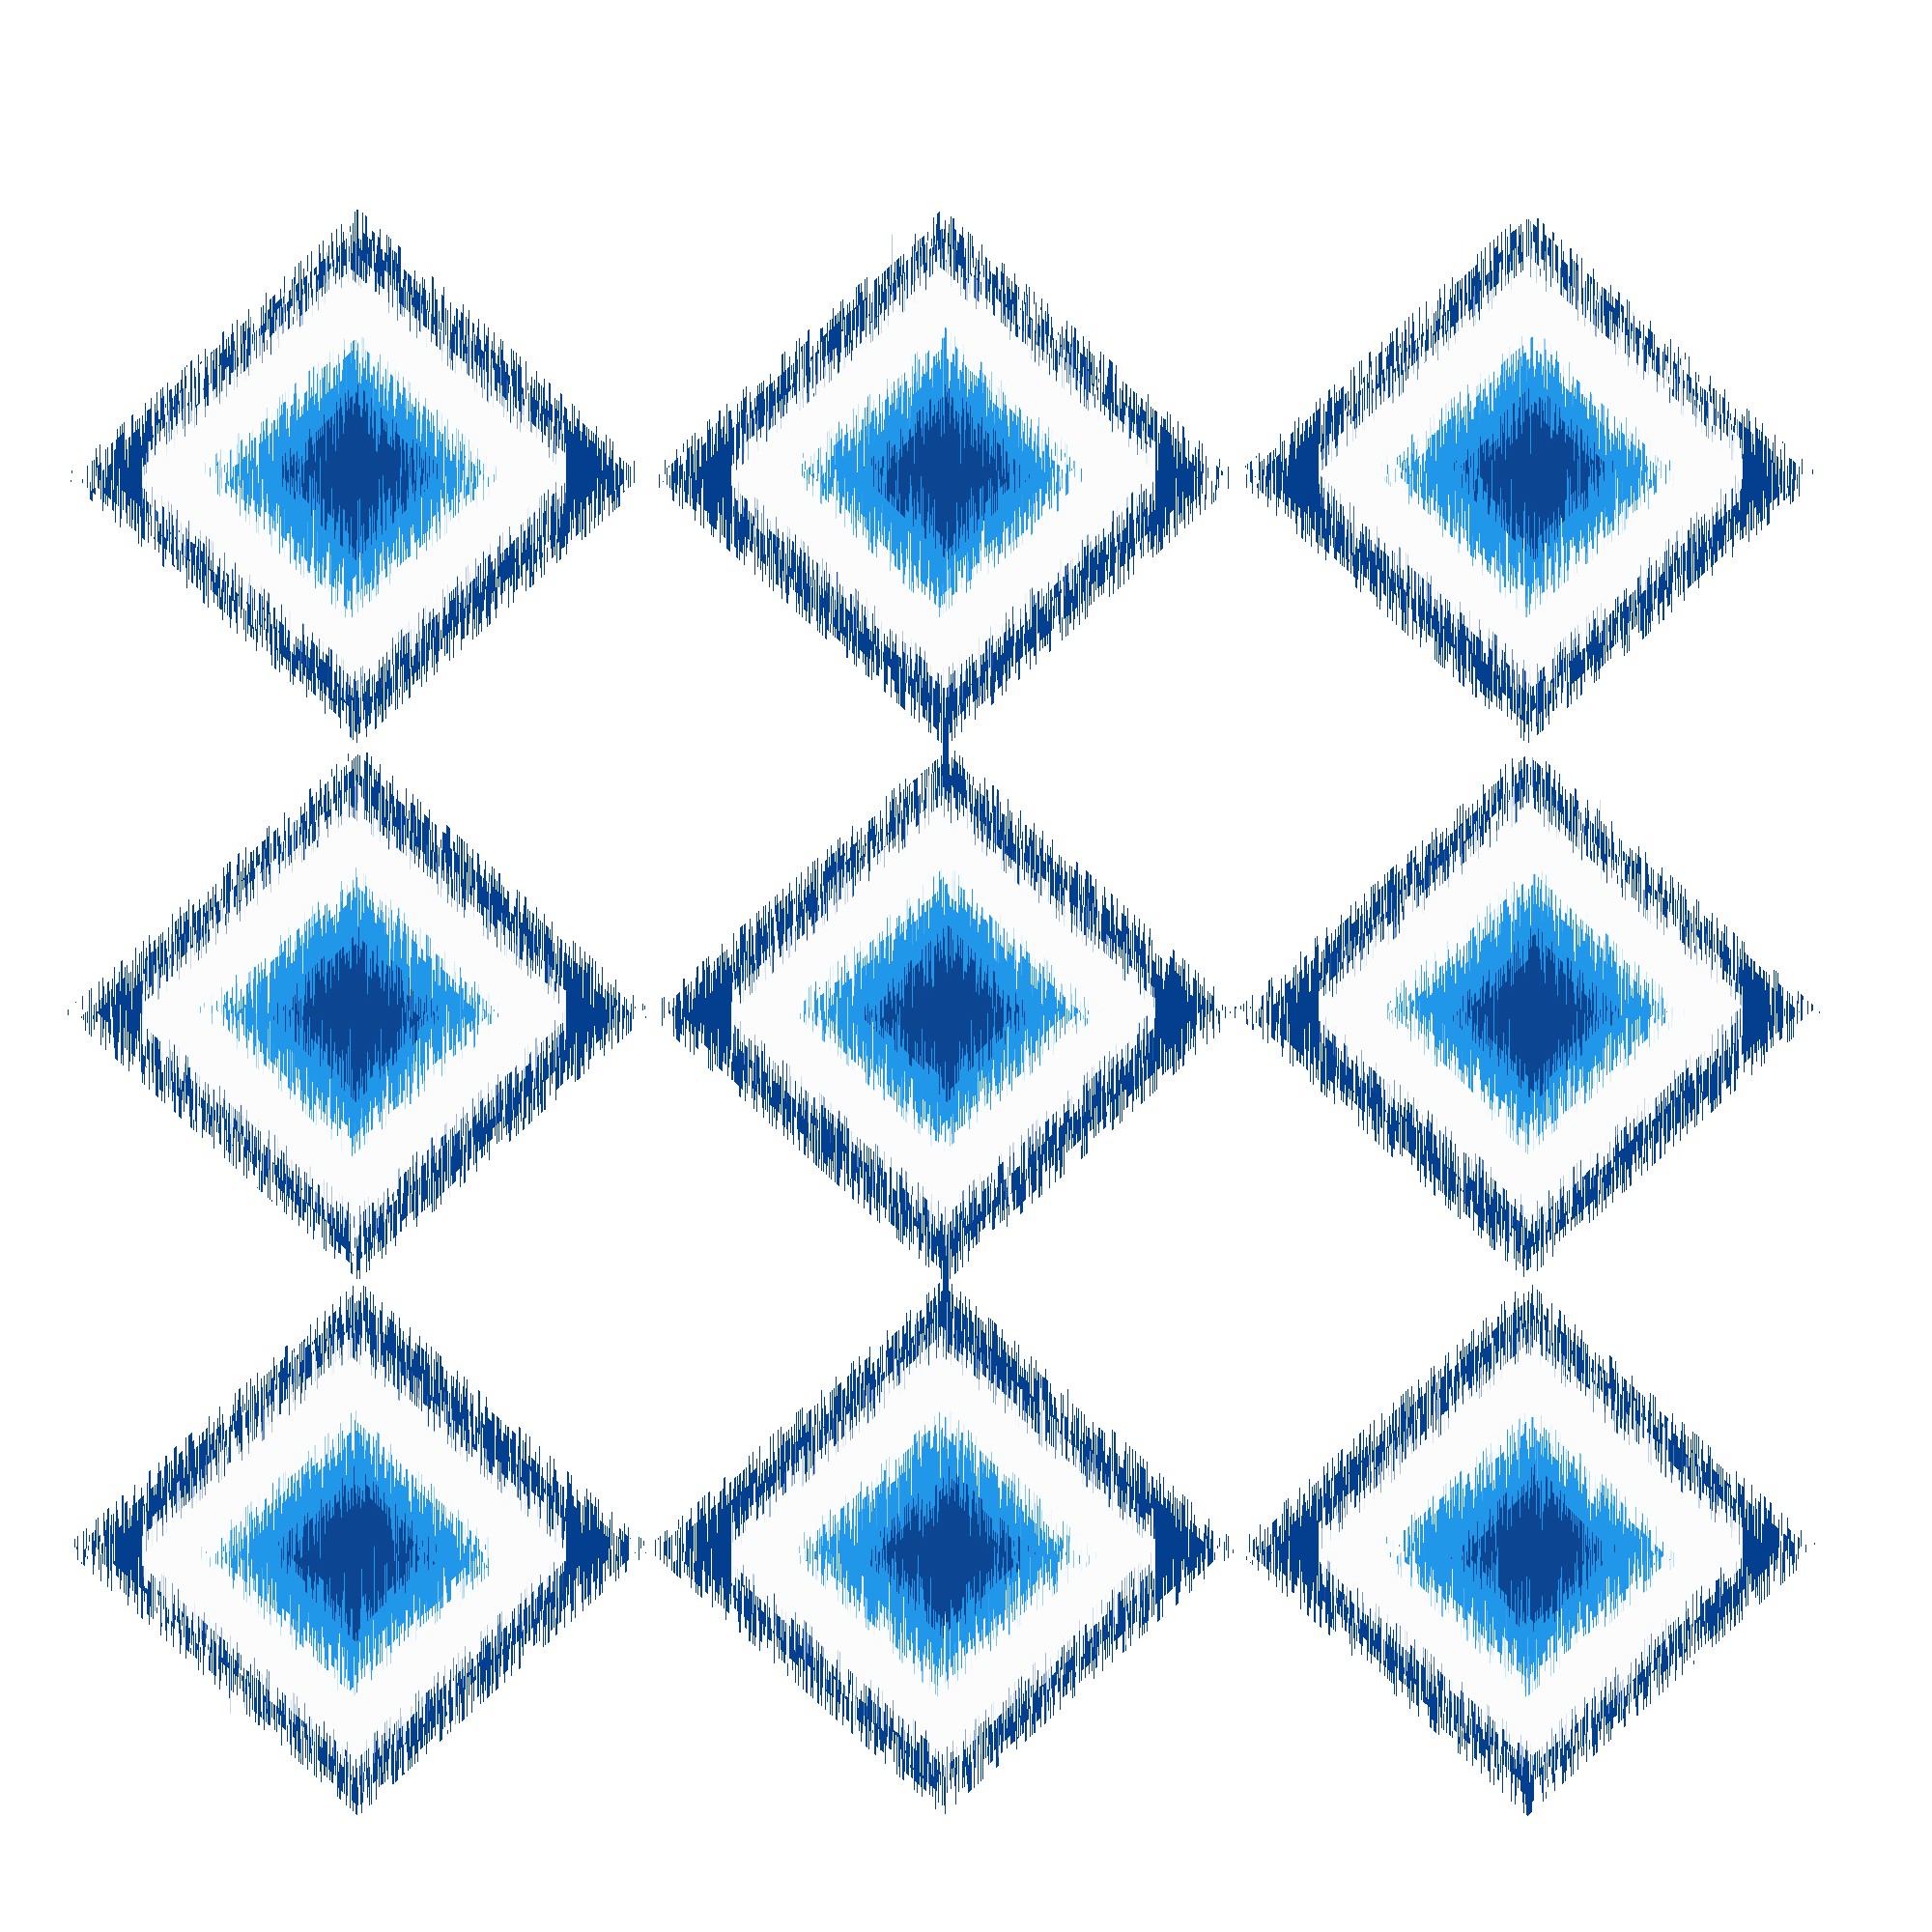
Create new polygon which is smaller than before two polygon>
Arrange new polygon through move tool>
and complete your pattern>
STEP-9
Go to filter menu>
Then click stylize>
Then click wind>
STEP-10
Then method will be blast and direction will be from the right>
Then Press ok >
STEP-11
Again Go to filter menu>
Then click stylize>
Then click wind>
STEP-12
Then method will be blast and direction will be from the left>
Then Press ok >
Complete


