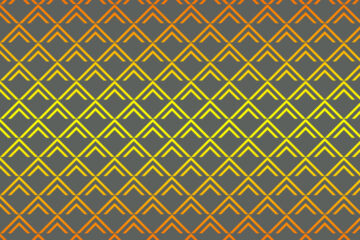
In the following step, you will learn how to make Mermaid Scale Pattern in Adobe Photoshop.

- What is the first step for creating a batik print?
First, download a JPEG. file from any search engine, from which you can make batik print.
My JPEG link is here:
https://drive.google.com/file/d/1qwemFCVANiQCWg1–O45SA2WmMovRYAN/view?usp=sharing
And the brush link is given at the bottom of my blog
2. How do you make batik print?
STEP-1
First, open Adobe Photoshop then goes to the file menu and select the jpeg file which you want to make the batik effect and open it.
STEP-2
In the second step go to the image menu select the image size, and set resample option it will be Bicubic (smooth gradients) then press ok.

STEP-3
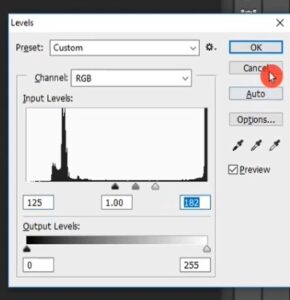
Again select the image menu then select adjustment after that select levels. Set input levels, here input levels will be 125-1.00-182, then press ok.
STEP-4
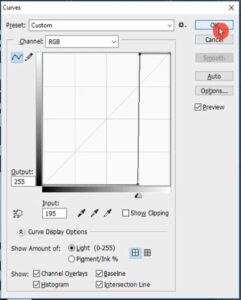
Again select the image menu then select adjustment after that choose curve, and set output, and input levels, here output level is 255 and the input levels are 195. Then press ok.
Go to the image menu and select adjustment after that select threshold, then press ok.
STEP-5
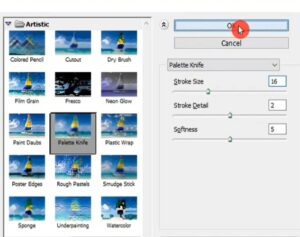
Now go to the filter menu select filter gallery then choose artistic, in artistic select palette knife. Here stroke size is 16, the stroke detail is 2, and the softness is 5, now press ok.
STEP-6
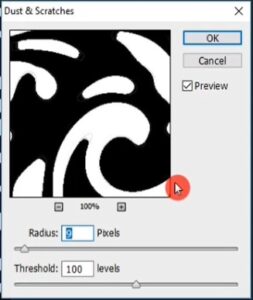
Again select the image menu then noise then select dust and scratches. Here radius is 9 pixels and the threshold level is 100, then press ok.
Again select the image menu then select the adjustment option then select threshold then press ok.
STEP-7
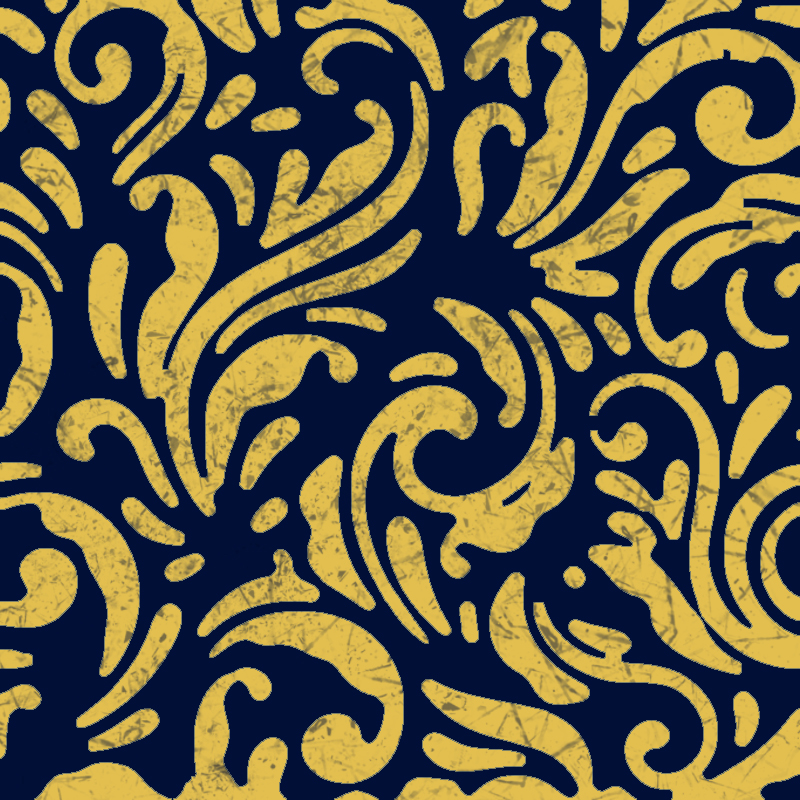
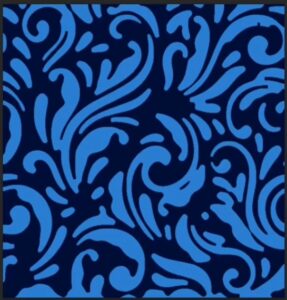
In this step select the foreground color mine is Navy blue, and the background color will be light blue or yellow ochre, which you want. Fill the navy blue color on the black or dark portion of the image through the paint bucket tool and fill the light blue or yellow ochre in the white portion of the image through the paint bucket tool.
STEP-8
Now go to the layer panel and create a new layer after that select the brush tool and open the brush preset picker. Here select a brush and set the brush size it is 1500 px. Then check the foreground color, it will be Navy Blue, and here already our brushes are selected after that click one time on the image or canvas. Now our batik print is ready.
BATIK PRINT/WAX PRINT BRUSH LINK: DOWNLOAD FROM HERE:
https://drive.google.com/file/d/1CMuKYz557gEnPibFX1E_Gq_EpX2jHb-w/view?usp=sharing