In this following step you will learn how to create diamond pattern in Adobe Photoshop.
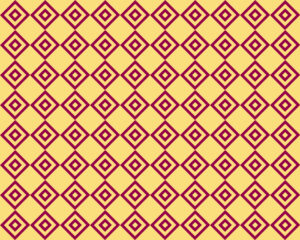
1.How do you make new document for your pattern?
For creating a document go to file menu then select new, where width 1000 and height 1000 pixels, Resolution -72 pixels, color mode -RGB, and the background content will be transparent then Press ok>
2.How do you create very first diamond shape ?
STEP-1
At first select rectangle tool and click on the canvas, here width and the height is 800/800 pixels then press ok. After that set fill and stroke color it will be black. Then press Ctrl+ T and set angle value it will be <45°. Now decease every corner for set the shape in the canvas.

STEP-2
Go to layer panel and press Ctrl+ J to duplicate the layer. Now set fill and stroke color it will be white. After that set width and height value it is 75%/75%.

STEP-3
Again press Ctrl+ J and duplicate the layer and set fill and stroke color it will be again black. Now again press Ctrl+ T and set width and height value it will be 60%/60%.

STEP-4
Now select very first layer and duplicate it. And again set fill and stroke color it will be white. Again set width and height value it will be 20%/20%. Now select the recent layer and drag it to the top of all layers.

Now select top three layer and duplicate it. Again select duplicated three layer and group it.
STEP-5
After grouping the layers select bottom two layers from the rest of four layers.

After selecting two layers go to layer menu select combine shape then select subtract front shape. Then set fill and stroke color it will be black.

STEP-6
Now select rest two layers then go to layer menu select combine shape and then select subtract front shape. Again set fill and stroke color it will be black.

Now select two layers and merge it. After that did the layer visibility will be off and the group visibility will on. Now select group and press the delete option which is given to the layer panel. After deleting group select two layers which was in the group and merge it.

STEP-7
Here both layer visibility will on, now select top layer and move the form to the canvas top right corner.

Now press Ctrl+ J and duplicate the layer and move it to the bottom right corner through the move tool.

Again press Ctrl+ J two times and duplicate the layer. Here do the same thing move duplicated two shape to the top and bottom left corner. Here our pattern is ready.

STEP-8
Go to edit menu and now select define pattern and save it.
STEP-9
After that Open a new document, Here width and height -1200/800 pixels, Color mode will be RGB, Background contents will be white. Then press Ok
STEP-10
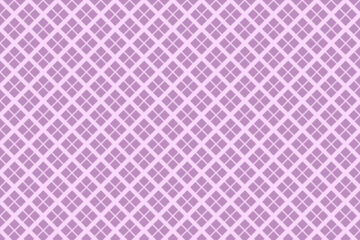
Go to layer panel then open lock, Then go to new fill and adjustment option, then select pattern option After that click drop down menu and select your pattern which you recently saved. Now set size it’s 10%, Then press ok.
STEP-11
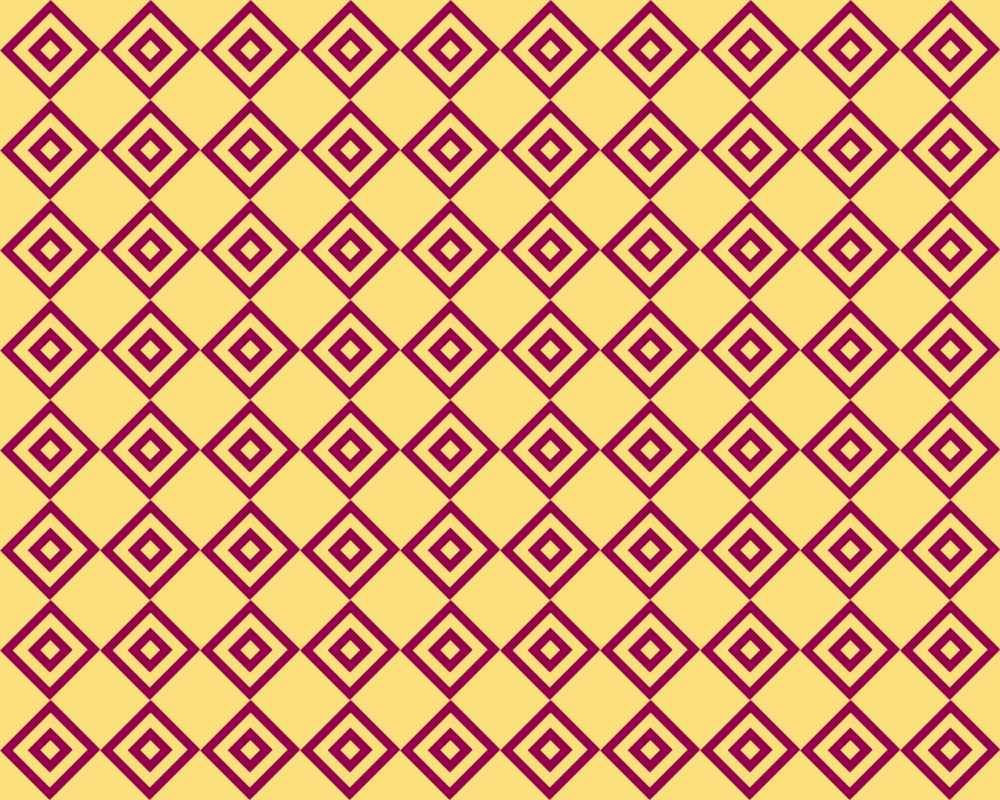
Now select background layer and then go to new fill and adjustment option, then select solid color, choose a color which you want and fill it through the paint bucket tool.
Complete

[…] Also Read: How do you make a Diamond pattern in Photoshop? […]