In the following step, you will learn how to make Stripe Pattern in Adobe Illustrator, to make a simple horizontal stripe pattern and the vertical stripe pattern. Now we are going to start with the horizontal stripe pattern. Here are the steps to make a Stripe Pattern in Adobe Illustrator, I will also leave the video below so you can have a better idea and see how I create Stripe Pattern in Adobe Illustrator. Open Illustrator and let’s get Started.
How do you make new documents for patterns?
To create a pattern, open Illustrator on your PC then clicks on the Create new option here fill in the preset details, first, give a name for the file, and set the width and the height value, here my width value is 50 inch and the height value 30 inch, and the orientation will be landscape then click on the create.
How to make the very first Stripe in Adobe Illustrator?
1. We are going to start a horizontal stripe so, set the fill color and remove the stroke then use a rectangle tool to create your first stripe, now create a stripe in the canvas.

2. Now click on the selection tool, and while holding the alt key, click on the first stripe and drag it out. Also, hold on to the shift key position right-angled off the first stripe.

Also read: https://texhype.com/how-to-create-polka-dots-patterns-in-adobe-illustrator/
3. Now change the fill color of the second stripe, select both stripes and group them by pressing Ctrl+ G. This will be our first pattern file.

To create the pattern just select both shapes and go to the object here click on the pattern then make. As you can see we have a seamless pattern, just press done to save it.
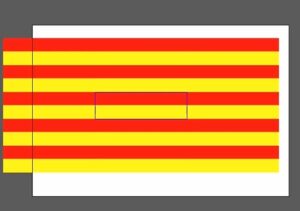
4. The new pattern appears in the swatch panel. So select the pattern swatch and then draw a rectangle shape on the canvas, now you have a perfect seamless pattern.
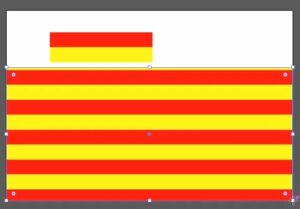
You can also apply it to different shapes like circles, triangles, etc.
5. Now we are going to create the second pattern, now select both shapes and rotate them to create vertical stripes, right-click on them go to transform, and here click on the rotate. Here angle 90° and click ok. Now we have a vertical pattern tile and all we have to do is drag to the swatch panel.
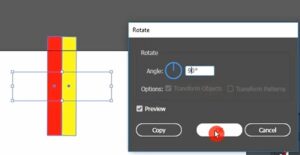
6. Select both shapes and go to the object here click on the pattern then make. As you can see we have a seamless pattern, just press done to save it.
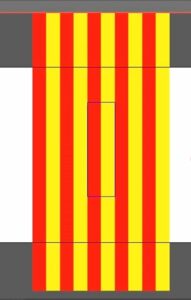
Now just select the pattern swatch and apply it to a shape. As you can see this is a perfectly seamless vertical pattern of stripes.
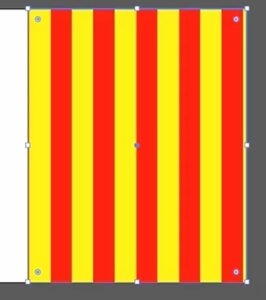
7. If you want to change the color of the Stripe, just double-click on the pattern swatch in the swatch panel and using the selection tool, select one of the Stripes and apply a new color swatch from the swatch panel. Then click done to save it. As you can see we have different colors in the shapes, and the different colors in the swatch panel.
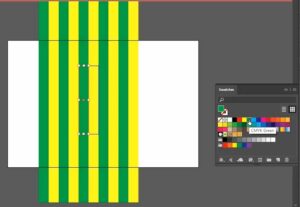
Now we are going to delete these shapes, to delete them select both shapes and press the delete key on the keyboard.
8. Now select both pattern swatch and apply it on the different shapes.
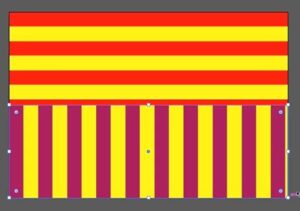
Now the Pattern is complete

