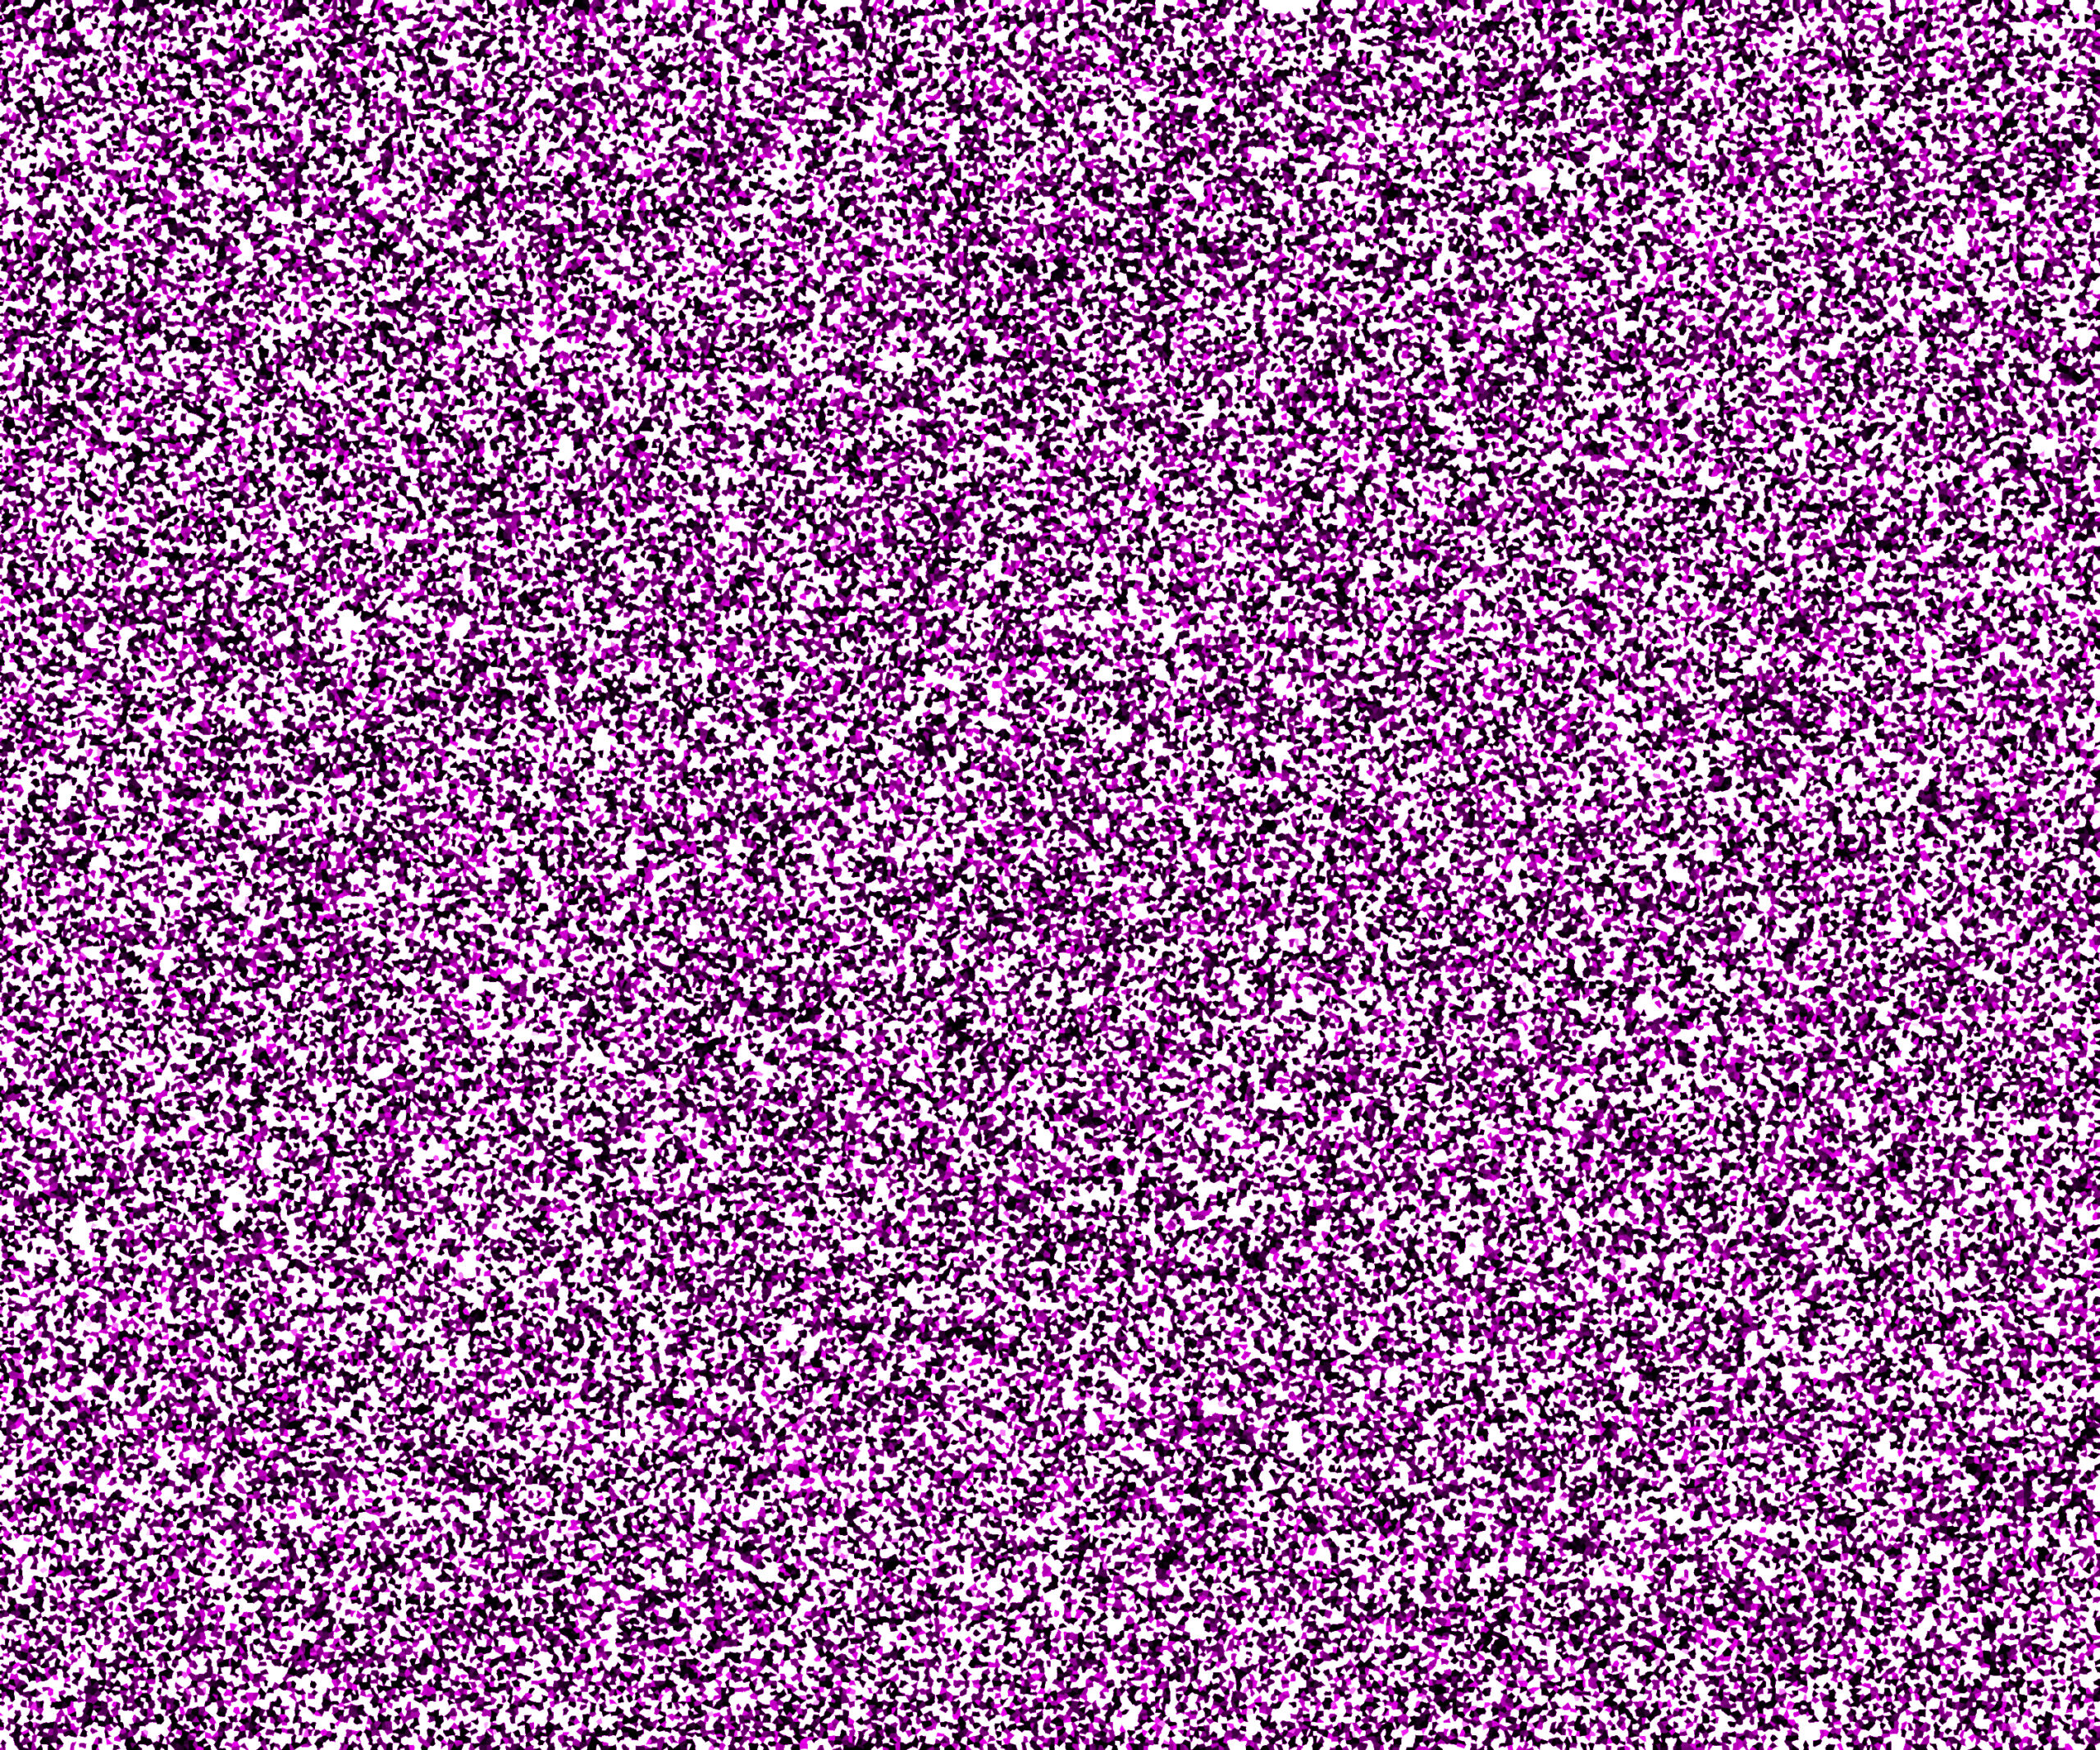
In the following step, you will learn how to make the Glitter effect in Adobe Photoshop.
How do you make new documents for the glitter pattern?
For creating a document hit on the File menu then select new, where width is 1000 and height 800 pixels, Resolution is 72 pixels, the color mode is RGB, and the background content will be white then Press ok.
How do you create Glitter effect in Photoshop?
1. At first set foreground and background color, here foreground color is black and the background color is white. Then click on the layer panel and open the layer lock.
2. Now click on the filter menu, select noise then choose to add noise, here set amount of added noise it’s 70%, the distribution will be uniform and the monochromatic will check on. Then click ok.

3. Now again click on the filter menu select pixelate then select crystallized. Here crystallized amount will be 100% and the cell size is 10 now click ok.

Also read: https://texhype.com/how-to-create-diamond-pattern-in-adobe-photoshop/
4. After that select layer and duplicate it and the duplicated layer mode will be multiple. Now go to the image menu select image rotation and then select 90° CW.

5. Now again duplicate the layer then go to the image menu select image rotation and then select 90° CW. After that select all layers and merge them. Now create a new layer then choose a color from the swatch panel. Now press Ctrl+ backspace to fill the color ( mine is yellow) in the new layer.

Now in the layer panel change the color mode from normal to soft light.

Now again change the color mode from soft light to color burn.

6. Now click on the new fill and adjustment option here select the solid color and pick any color which you want for the next colorful glitter. Now here I have selected pink color and clicked ok. Now change the color mode from normal to color burn. So, the glitter color converted from yellow to red.

Now finally the glitter effect is complete.


